How Vinyl Flooring Is Installed in Singapore: Step-by-Step Guide
Vinyl flooring has become one of the most popular choices for homeowners and commercial property owners in Singapore—and for good reason. With its sleek appearance, durability, and ease of maintenance, vinyl flooring is an affordable and stylish alternative to hardwood, tiles, or laminate.
But how exactly is vinyl flooring installed, and what can you expect during the process?
In this comprehensive guide, we’ll walk you through the entire vinyl flooring installation process in Singapore, from the initial consultation to the finishing touches. Whether you’re renovating your HDB flat, condominium, or office space, understanding the process helps you make confident, informed decisions.
Step 1: On-Site Consultation and Measurement
The installation journey begins with a site visit. At Wood Origins, we offer a free consultation to assess your current flooring conditions, take precise measurements, and understand your style and functional needs.
Our consultants will:
- Check for level surfaces and moisture content
- Discuss your lifestyle requirements (e.g., waterproofing, pet- or child-friendly options)
- Recommend textures and tones that suit your space
We also provide free vinyl flooring samples so you can visualise the best fit within your own environment.
Step 2: Subfloor Preparation
A smooth, clean, and dry subfloor is critical for a flawless vinyl flooring installation.
Here’s how our team prepares your space:
- Removal of existing flooring: Depending on what’s currently installed, our team will remove old flooring such as tiles, laminate, or carpet.
- Levelling the surface: We use self-levelling compounds to address dips, bumps, or uneven concrete surfaces.
- Moisture protection: Especially important in Singapore’s humid climate, a moisture barrier or waterproof underlayment may be installed.
This preparation ensures your new floor won’t suffer from warping, mold, or uneven wear over time.
Step 3: Choosing the Right Vinyl Flooring Type
There are different types of vinyl flooring, and the choice depends on your aesthetic preferences and functional requirements. At Wood Origins, we offer:
- Glue-down Vinyl Flooring: Ideal for high-traffic commercial spaces or larger residential areas. It provides a sturdy, long-lasting base.
- Click-Lock Vinyl Planks (SPC/LVT): Best for fast, mess-free installations. These interlock without adhesives, perfect for HDB and condo renovations.
- Loose Lay Vinyl: Suitable for smaller rooms or temporary setups, these planks require minimal adhesive and are easy to remove or replace.
Our curated collections mimic the natural beauty of real wood, including embossed textures and grain patterns.

Step 4: Acclimatization of Flooring Material
Before installation, vinyl planks need to acclimatize to the room temperature and humidity.
Why this matters:
- Prevents expansion or contraction post-installation
- Ensures long-term dimensional stability
We recommend letting the materials sit in your space for 24 to 48 hours prior to installation.
Step 5: Installation Process
Here’s a breakdown of the actual installation steps:
1. Layout Planning
Our installers start by mapping out the layout to ensure that the vinyl planks align visually across the room. We avoid awkward cuts or thin planks near edges.
2. Cutting and Fitting
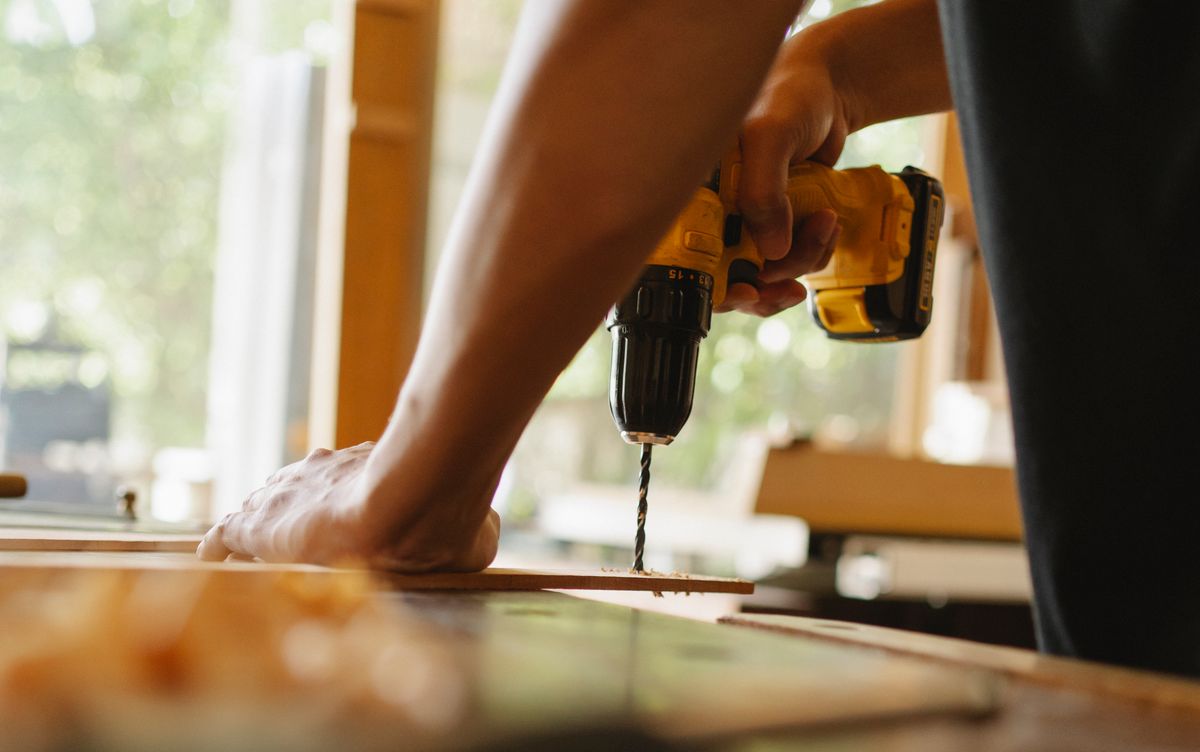
Using precise measurement tools and cutting blades, the vinyl planks are trimmed to fit corners, door frames, and room contours. This is where professional craftsmanship really matters.
3. Laying the Planks
Click-lock: Planks are locked together using tongue-and-groove edges and gently tapped into place with rubber mallets.
Glue-down: Adhesive is evenly applied to the subfloor, and each plank is carefully placed and rolled to remove air bubbles.
4. Rolling and Sealing
A heavy floor roller is used to ensure maximum adhesion and remove any trapped air beneath the planks.
5. Trimming and Edging
The final step involves installing edge trims, thresholds, and skirting boards for a clean, polished finish.
Step 6: Final Inspection and Aftercare Advice
Once the flooring is installed, our Wood Origins specialists conduct a final walkthrough with you to:
- Check for any imperfections
- Ensure all trims and edges are securely fixed
- Provide you with cleaning and maintenance tips
- We also share long-term care recommendations such as:
- Using felt pads under furniture
- Cleaning with pH-neutral vinyl-safe solutions
- Avoiding excessive water during mopping
Why Choose Wood Origins for Your Vinyl Flooring Installation?
As a leading flooring supplier and installer, Wood Origins is dedicated to bringing the natural beauty of wood into your interior spaces. We’ve reimagined flooring and wall covering options, offering a wide range of luxury vinyl flooring, engineered hardwood floors, and fluted wall panels.
Our expert team provides:
- Professional installation backed by years of hands-on experience
- Nationwide service across Singapore
- Design consultations that align your flooring with your lifestyle
- Premium vinyl collections that are waterproof, scratch-resistant, and pet/kid-friendly
Whether you’re renovating a cozy bedroom, a high-traffic office, or a stylish retail outlet, Wood Origins ensures your floors look stunning and stand the test of time.